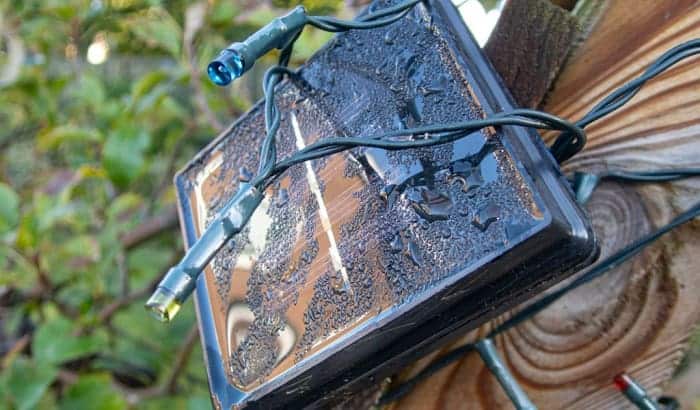
If you’re not knowledgeable about electricity, fixing broken wires can be intimidating, right? However, you must know how to fix broken wire on solar lights because not only can it be helpful, but help isn’t always available.
The truth is, you don’t have to worry. With the right tools and proper instructions, you’ll be able to fix damaged solar light wires.
Table of Contents
There are Common Skills You Have to Learn First
So you can easily perform the instructions found in the next section of this article (Fixing the damage), you must first learn three skills: using the multimeter, stripping wires, and soldering wires.
The tools you’ll need are:
- Multimeter
- Manual wire stripper- for stripping wires
- Safety goggles- protection from solder splashes
- Heat shrink tubing- to cover the soldered area
- Heating gun- used to shrink the heat tubing
- Rosin Paste Flux- this helps the solder flow into the wire
- Silicon paste- used to waterproof the soldered area
- Soldering gun- you can also use a soldering iron for wires with a smaller gauge
- Solder
There are three types: with lead, lead-free, or silver (for connecting metals only). The one with lead is more preferable than the lead-free one because it works well and has a lower melting point.
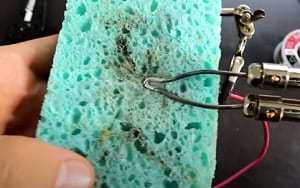
- Damp sponge – to wipe off the ends of the soldering gun
Okay, now on to learning the skills.
Checking Wire Continuity Using a Multimeter
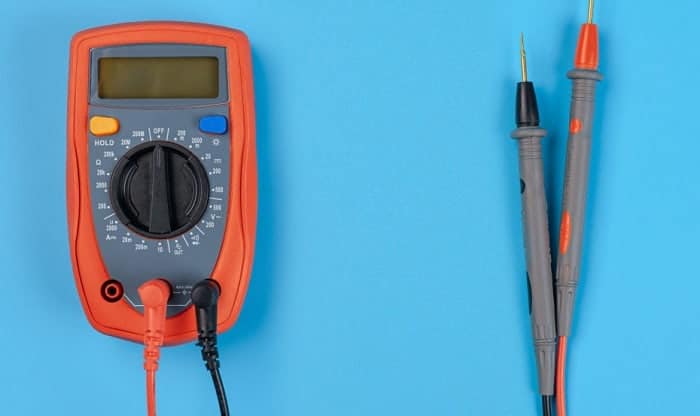
When you notice your lights not working but there’s no apparent wire damage, you can use a multimeter to see if the current runs through the entire circuit. By doing this, you’ll know where along the circuit the faulty wire is.
Here’s how:
- Plug the probes in their corresponding ports found in the front of the unit. The black probe is for the COM port and the red probe is for the VΩmA port.
- Set the right VΩmA setting using the knob. Touch the ends of the probes to see if the multimeter works. A zero or a number close to it should appear on the display.
- Turn the knob again and set the resistance setting higher than the resistance value of your solar light. If you’re unsure, read the manufacturer’s setting or do a Google search. You can also opt to set it to the highest VΩmA setting and slowly bring it down until you have a reading.
- Lastly, touch the ends of the probes on each of the ends of your solar light’s circuit. If you get a reading of zero or close to zero, there’s continuity. If you see 1 or OL (open loop), there’s no continuity.
Stripping Wires
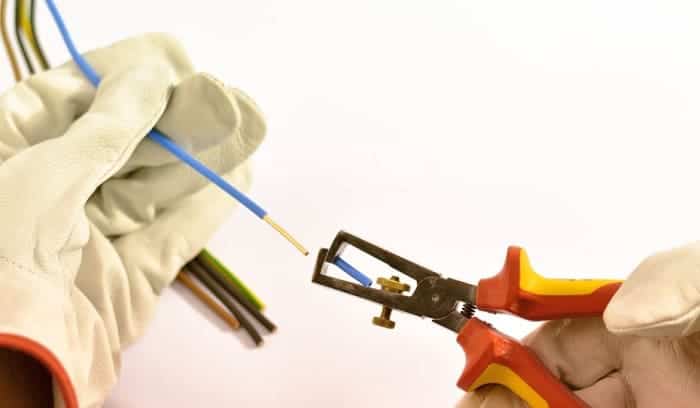
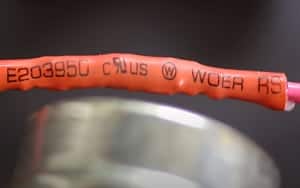
- Find your solar light’s wire gauge written on its insulating sheath. Then, look at the manual wire stripper and find the slot that matches that gauge.
- Place the wire on its corresponding slot in the manual wire stripper, making sure you can cut off about an inch of the insulating sheath.
- Carefully squeeze the handle of the stripper and twist to slice through the sheath. Once it’s cut, slide it off to reveal the copper wire.
Be careful enough not to cut the wire. If you see a few broken strands, just cut the wire all the way through and strip it again.
Soldering Wires
Soldering wires means joining two wires by melting their ends together. See the instructions below.
1. Strip the ends of two wires by following the instruction above. Expose about an inch of copper wire.
2. Slip the heat shrink tube on down one wire, far away from the area you’ll be soldering.
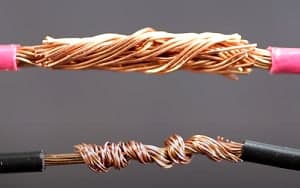
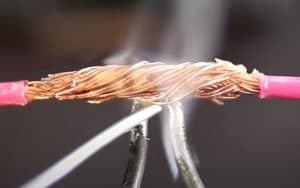
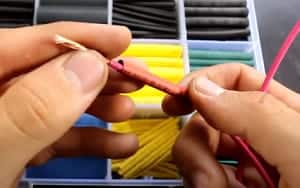 3. Intertwine the wires whichever way you prefer.
4. Smear the Rosin Paste Flux into the wire.
5. Grab your soldering gun and heat it, wiping the ends with a damp sponge as you go along to remove the oxidation. Add a little solder to the tip and wipe it again, leaving a thin layer of solder that’ll speed up the transfer of heat to the wires.
6. Position the tip of the soldering gun beneath the wire then insert the solder in between for a second. Afterward, add the solder on top of the wire. Don’t let the solder touch the tip.
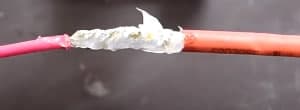
7. Once the wires are coated enough, remove the solder and the soldering gun and let it cool.
8. Smear some silicone paste on the soldered area and slide the heat shrink tubing over it.
9. Heat the tube with a heat gun to shrink it.
Fixing the Damage
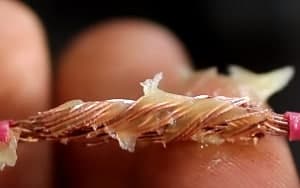
- Chewed off/frayed wires
- Bring the string lights down.
- Cut off the frayed wires/broken strands.
- Strip the ends of the wires you want to reconnect.
- Solder them back together.
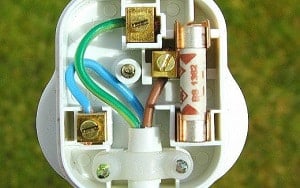
- Unscrewed wires
- Check for displaced copper wires.
- Screw them back in.
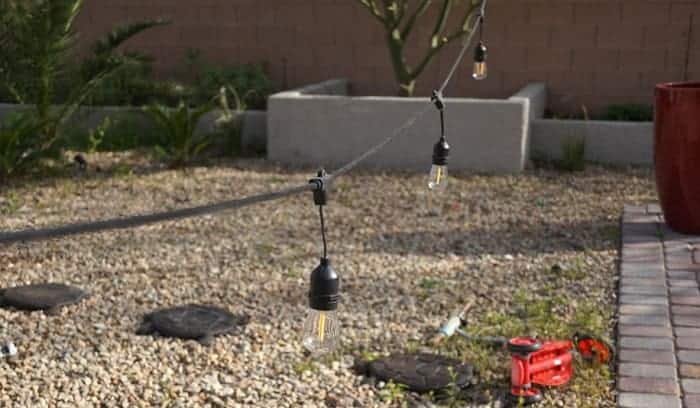
However, I will also share the top-rated hanging solar lights I’ve tried and tested to help you find a good brand. Furthermore, take a look at my reviews on solar uplights for trees if you like.
Conclusion
That doesn’t look so hard now, does it? You’re finally ready to fix any wire trouble you may encounter.
Did you enjoy the skills taught in this tutorial? Write down your thoughts in the comment section. Don’t forget to share this with your family and friends. Let’s help each other out!

I am Kathleen Miller, staff writer and reviewer of the Avasolar team. Working with the team has been a pleasure for me so far, I hope to bring readers useful information by creating detailed and easy-to-follow contents.