Installing solar lights in any outdoor area can be done without much sweat, even for beginners. But, sometimes, when the stakes of your solar lights are broken, setting them up or replacing the stakes can be a bit of work. Don’t worry; this post will assist you on how to make replacement stakes for solar lights.
Table of Contents
Materials Needed
- A ⅝-inch wood dowel
- Rebar (optional)
- A cutting tool
- A hammer
How to Make Replacement Stakes for Solar-Powered Lights?
Here are the steps I followed when I made my DIY replacement stakes:
Step 1: Cut the dowel into pieces
I took a 5/8-inch wood dowel. Then, I cut the dowel into 9-inch to 10-inch pieces.
Please note that if you’re going to use wood material for your stakes, this won’t be a permanent solution as wood does not last a lifetime.
Some hardware and online stores sell rebar that is roughly 12-inch long, which you can use if you want something that could last longer.
In my case, I used a dowel because I already had it at home and did not want to spend more.
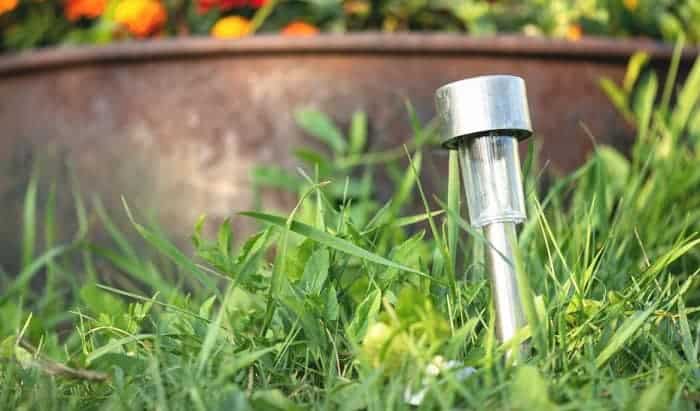
Step 2: Hammer the dowel into the ground
After cutting the dowel, I took a hammer and hammered the wood halfway into the ground. I made sure that the dowel was straight.
Step 3: Replace the old stake with the dowel
From there, I lifted the old and broken stake from the solar light. Then, I carefully inserted the dowel in its place.
So far, since the time I inserted it, it has served as a straight and steady pole for my outdoor solar lights.
If you’d like to get some more ideas on making very simple and budget-friendly replacement stakes for light and small outdoor solar lights,
Tips on Setting Up Solar Lights
Are you wondering how to sufficiently light up your walkway, garden, or pathway? Would you like to add attractive accent lighting to your backyard at night? You can do all these by installing top-quality outdoor solar lights. In many instances, setting up solar-powered lights is a quick outdoor project to accomplish.
To get started, you need to prepare the soil and decide where to install your solar lights. It is necessary to carefully ensure that the solar-powered fixtures are adequately charged before installing them into the ground.
Here are the Steps to Ensure that Your Solar-Operated Fixtures Work at Their Best
Prepare the Soil
Most solar-powered fixtures come with stakes that can be embedded into the soil. So, if you’re setting up a set of solar fixtures with their own solar panel, digging will be required. Furthermore, this might only allow limited placement options since the solar panel needs to be in a sunny spot.
If the ground where you intend to set up the solar lights is compacted and hard, soil preparation might be necessary. This is to ensure that the stakes are appropriately and strongly affixed to penetrate the ground.
When preparing the soil, start by watering it carefully to soften it. You can use a garden fork or shovel to speed up this process. The ground should be fit enough to embed the cables or to set up the solar panel. Be sure to avoid forcing the stakes into the ground when installing the solar lights.
When installing or replacing stakes, if you push the stakes too hard and the soil is not properly prepared, the solar lights are more likely to get damaged. Consider preparing the ground further by drenching it and breaking it up using the garden fork or shovel if the stakes don’t smoothly go into the soil.
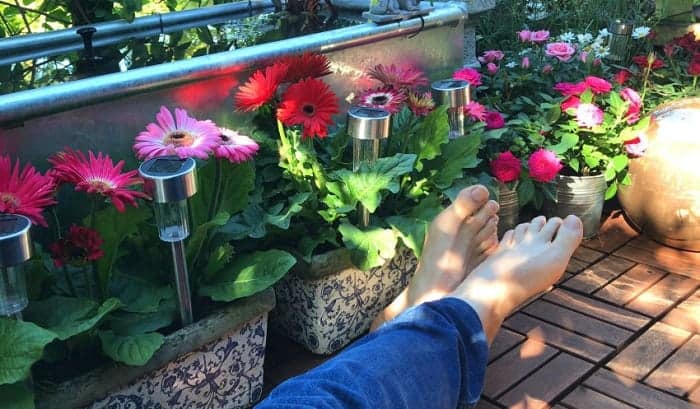
Position the solar fixtures carefully and in the right spot
Did you know that the essential factor to consider when setting up solar outdoor lights is the placement of the solar lighting device? It would help if you thought about the purpose that you’d like the solar lighting systems to serve.
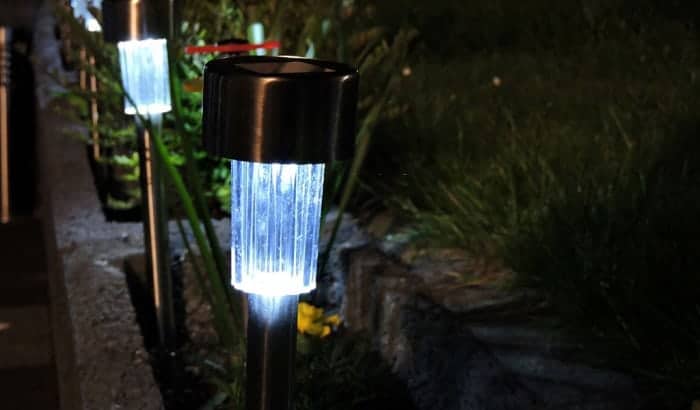
For example, if you intend to illuminate your pathway, you might want to position the solar lights equally close together. This is to ensure that it is effortless to see where the pathway is, particularly if it is winding.
On the other hand, if you’d prefer to light up a garden feature, you’ll want to position the solar lights close enough to it. In doing so, they could emit a suitable amount of illumination on the feature you’d like to build up.
Besides, it is also vital to think through whether the solar light’s placement could present an obstruction to using your lawn or maintenance. Indeed, you wouldn’t prefer to install your solar-powered fixtures in areas where you’ll run over them with your vehicle or where they will make mowing challenging.
Likewise, you’re less likely to install them in areas where your little ones will accidentally trip over them while playing outdoors during the daytime. This is why it matters to position them in spots where they are visible and won’t interrupt or block anything and anyone. Creating a plan concerning where to set up your solar lights is a great idea.
Fundamentally, solar-operated lights necessitate sunlight to work at night. Hence, you’ll want to ensure that your solar lights absorb optimal sunlight each day. You should position the solar panel in a sunny area if you are setting up the solar lights that come with a separate solar panel.
From there, you may dig a pit at least 6-inch deep to embed the cables. You might want to insert the cables in a plastic tube to provide them with more shields. In doing so, accidentally cutting through them while you’re digging is less likely to happen.
It is critical to ensure that there are no branches or leaves hanging over the solar lights or solar panel. You will also need to cut the nearby plants, if there’s any. Or solar lights for trees are the optimal choice for areas with lots of foliage around.
Charge the solar-powered fixtures first
Before you set up the solar-powered lights, the first thing that you’ll need to do is to charge them. Each outdoor solar light generally requires between 12 to 14 hours of sunlight to charge fully. You see, this must be done before installing them, as this is often indicated in the user manual of the kit when you purchase the product.
You can charge the solar-operated fixtures for a couple of days if needed. You may leave them outdoors in a sunny location. This technique allows the batteries to optimize their charging efficiency before setting up the solar lights where you intend them to be.
Key Takeaway
We hope that you can use the above guide on how to make replacement stakes for solar lights.
Setting up solar-powered fixtures outdoors can be an inexpensive and straightforward upgrade to any outdoor spot. They are eco-friendly, cost-effective, and require low maintenance.
Not to mention, outdoor solar lights can add illumination where necessary and can efficiently accent your most preferred outdoor features. Hopefully, you learned valuable ideas on how to install your solar lights properly.

I am Kathleen Miller, staff writer and reviewer of the Avasolar team. Working with the team has been a pleasure for me so far, I hope to bring readers useful information by creating detailed and easy-to-follow contents.