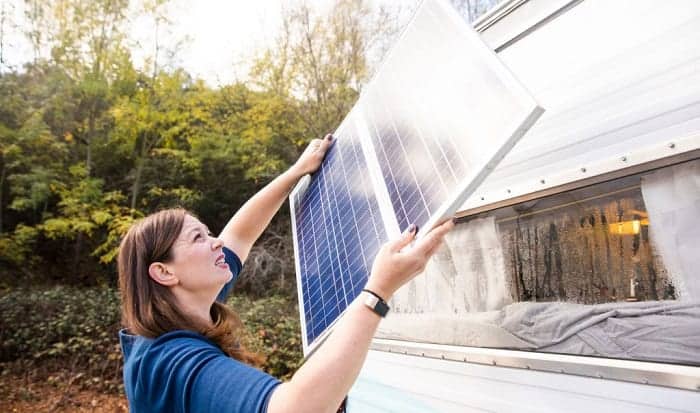
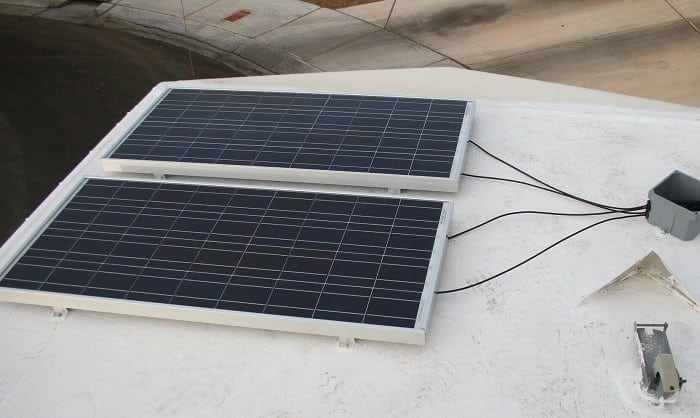
Are you wondering how to install solar panels on RV? Note that RV solar panels are typically designed to provide sufficient energy to recharge a few larger kitchen appliances or small gadgets.
Installing one or more solar panels on your recreational vehicle can undoubtedly offer you more freedom and enjoyment for your outdoor adventures. It can help you save money in the long run, and of course, minimize your overall carbon footprint.
In this post, we’ll tackle the required equipment for the entire setup process. We’ll also provide you with detailed procedures for properly setting up a solar panel on your RV. So, please read on.
Table of Contents
What are the Materials or Equipment Needed for Installing Solar Panels on RV Roof?
Before you start your RV solar panel installation, it is a must to ensure that all the necessary pieces of solar equipment are ready. While solar panels are the most important items for the setup process, other components are also required to complete the installation process.
To get the project accomplished, you need to prepare the following items:
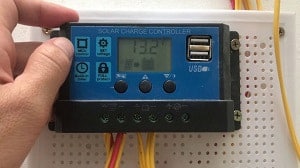
Solar Charge Controllers
These items are essential to impede overcharging of batteries.
Solar Panels
Note that solar panels come in different types and sizes.
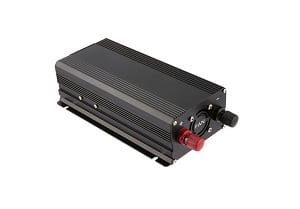
Power Inverters
Since it is necessary to utilize AC power, inverters are needed.
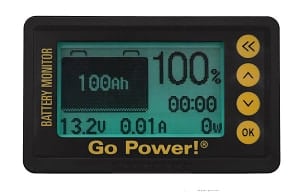
Monitor and Batteries
Batteries are for storing the energy that your solar panels generate. Meanwhile, the monitor is the device that helps you determine the levels of your battery.
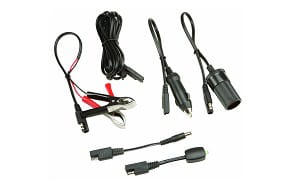
Cables
These items are for connecting the panels to the batteries.
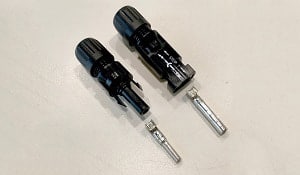
MC4 Connectors
These connectors enable you to extend the solar cables. They commonly come in different forms for connecting multiple panels. Hence, it is necessary to know what is needed for parallel wiring setups, series setups, and for each size.
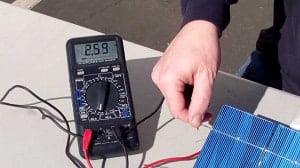
Multimeter
This device is used for checking the input and output voltage of your solar charge controller.
It’s helpful to contact your recreational vehicle seller so that you can seek advice regarding the RV roof. This way, you can ensure purchasing the right mounting tools.
Keep in mind that you can purchase all of these items separately; however, there are several available solar panel kits sold on the market that already contain, if not all, then most of the hardware and equipment needed for setting up solar panels for RV roof.
Solar panel kits are generally recommended for those who do not currently own any solar equipment or are new to solar energy. They are ready-made, reasonably priced, and convenient options. With a solar panel kit, wiring your system is made a lot easier.
The Steps on How to Install Solar Panels on RV
For knowledge on solar panel mounting hardware installation on RV roof, carefully go through the detailed steps below:
Step 1. Inspect the roof of your recreational vehicle for any signs of damage.
First and foremost, check if your RV’s roof comes with any issues that need fixing immediately. It is best to have any damage seen on your RV roof fixed before setting up your solar panel. Uncovering the breakage after affixing the panels on the recreational vehicle will cost more money for repair. Redoing the panel setup is also a waste of time.
You might want to consider executing most of the installation steps on the ground because recreational vehicle solar panel setup is a bit complicated.
Step 2. Go over the instructions and mount the solar panels.
Whether you are a professional or it’s your first time installing solar panels on an RV, you should always begin by reading the user guide. In doing so, you can prepare suitable pieces of solar equipment and ensure that you’re installing the unit accordingly. It is beneficial on your part if you follow the manufacturer’s recommendations.
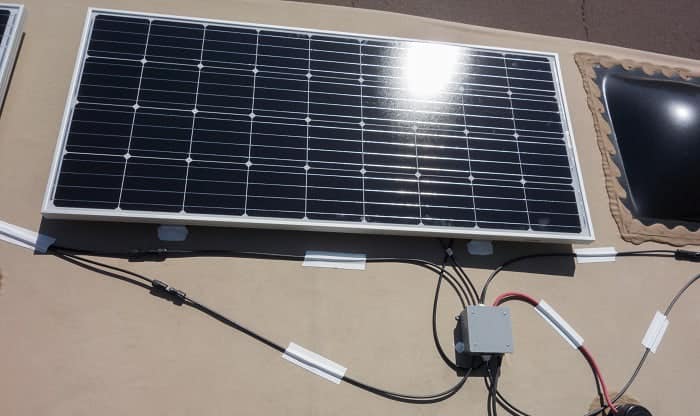
Once you have finished reviewing the user guide, you can start mounting the solar panels. Take into consideration that the mounting process will vary depending on the type of solar panels you have. Flexible solar panels commonly employ a combination of screws and adhesive that is placed at each corner.
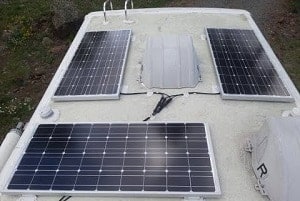
On the other hand, rigid solar panels are typically fastened to the roof with screws and brackets included in the kit they came with. Regardless of the type of solar panels you’re using, it is critical to lay them out on the roof in your desired positions. Further, you need to ensure that they all fit well.
Then, indicate the locations and utilize the mounting hardware to screw the solar panel frames to the roof. It is necessary to apply a sealant underneath the edges of the panels and the brackets. In doing so, you can impede the potentiality of corrosion over time.
It is best to use corrosion-resistant screws when you affix anything to the exterior portion of your recreational vehicle.
Step 3. Wire the solar panels.
The next step is to run the solar cables from the solar panels down into the recreational vehicle where the charger controller will be situated. There are three effective methods on how to do this:
- Refrigerator Vent
This is known as the most common method of running solar cables. This method works by putting the solar cables through the refrigeration vent. It is the most preferred option because it averts the need to puncture new holes into your RV’s exterior portion.
- Plumbing Pipe
This option is applicable when it is difficult for you to access the refrigerator vent or if the refrigerator vent is positioned remotely from the rest of your solar equipment. To execute this method, run the solar cables through the plumbing pipe and use a sturdy sealant surrounding any new holes you need to make.
- Drilling New Holes
If you have no other option, then you might want to consider puncturing new holes precisely where you require them. Fundamentally, it is advantageous to puncture somewhere that would make it effortless for you to conceal the cables once they’re inside your recreational vehicle.
You might want to have a professional do the job for you if you find this method challenging or uncomfortable. But, make sure that the new holes you puncture are made weatherproof and waterproof after the cables are run through them.
Step 4. Attach the components.
Once the solar panels are affixed and solar cables have been run into your recreational vehicle, the next step is attaching all the components. Ensure that everything is precisely affixed where you prefer it to be.
While some RV owners affix their power inverter and charge controller directly to a wall, the location is up to you. It is best to choose a location that is accessible yet discreet. Please review the instructions for each piece of equipment during this step to ensure that you’re safely wiring and attaching them.
In general, you will wire the charge controller to your battery before you attach them to the solar panels. To examine your wire polarity, you may use a multimeter. When you’re sure that everything is situated the right way, utilize the wires of the solar equipment and the MC4 connectors to ensure that everything is attached safely.
Step 5. Attach the Power Inverter.
The power inverter works by ensuring that any current your solar panels are able to captivate will be transformed into AC.
Attaching a power inverter is pretty straightforward. All you need is to ensure that your negative and positive wires are linked in the correct order. Also, the power inverter should be graded for your specific solar power system.
Is the Cost of an RV Roof Solar Installation Expensive?
The cost of solar panel system installation largely relies on various factors. Such factors include if you have a large or small space, as well as your current power requirements. Likewise, the more solar panels and batteries you utilize, the higher the expense will be.
Generally speaking, the expenditure can range from $500 to $700, or probably higher. Please note that it can cost around $2,000 for larger solar installations.
Nonetheless, the good news is that costs of solar panels have declined over the years. Besides, nearly all solar products offer more than 20 years of warranty, so they are undoubtedly a wise investment.
For a more in-depth RV roof solar installation guide, you might want to check out this video:
Final Thoughts
If you spend more time in your recreational vehicle and love going outdoors and camping on weekends frequently, then installing solar systems on your camping van makes sense. This guide simplified the entire solar panel installation task into a more detailed step-by-step process.
So, hopefully, we provided you all the vital information on how to install solar panels on RV correctly. As previously mentioned, we highly recommend going through all the instructional materials in your solar kit before starting the installation process.
Meanwhile, did you find this RV roof solar panel installation guide helpful and informative? If yes, you might want to share this article with others.

I am Kathleen Miller, staff writer and reviewer of the Avasolar team. Working with the team has been a pleasure for me so far, I hope to bring readers useful information by creating detailed and easy-to-follow contents.

